If you’ve been following our series of design thinking articles, you know that there are five key steps in this process. So far, we’ve covered the empathize stage and the methods you can use to get to know your target audience; the define stage, looking at how to craft a meaningful problem statement; and the ideate stage, exploring various techniques for generating new ideas. Now it’s time to explore the fourth and penultimate stage: prototyping.
Why Prototyping is Crucial?
Prototyping is a critical phase in the design thinking process. It allows you to determine whether the design (or changes) work as intended—before they are out in the world and in the hands of your users. Before releasing a product to market, you want to ensure it functions as planned. Does it solve the user’s problem exactly as envisioned? Is it user-friendly and intuitive? Ideally, you’ll discover these things before investing time and money into developing the final product.
What is Design Thinking? A Brief Recap
Design thinking is both an ideology and a process used to solve complex problems in a user-centric way. Much like user experience (UX) design, it places the user at the center, focusing heavily on empathy. What’s unique about design thinking is that it advocates a solution-based approach to problem-solving. Rather than fixating on obstacles and limitations, it encourages you to experiment, iterate, and think outside the box.
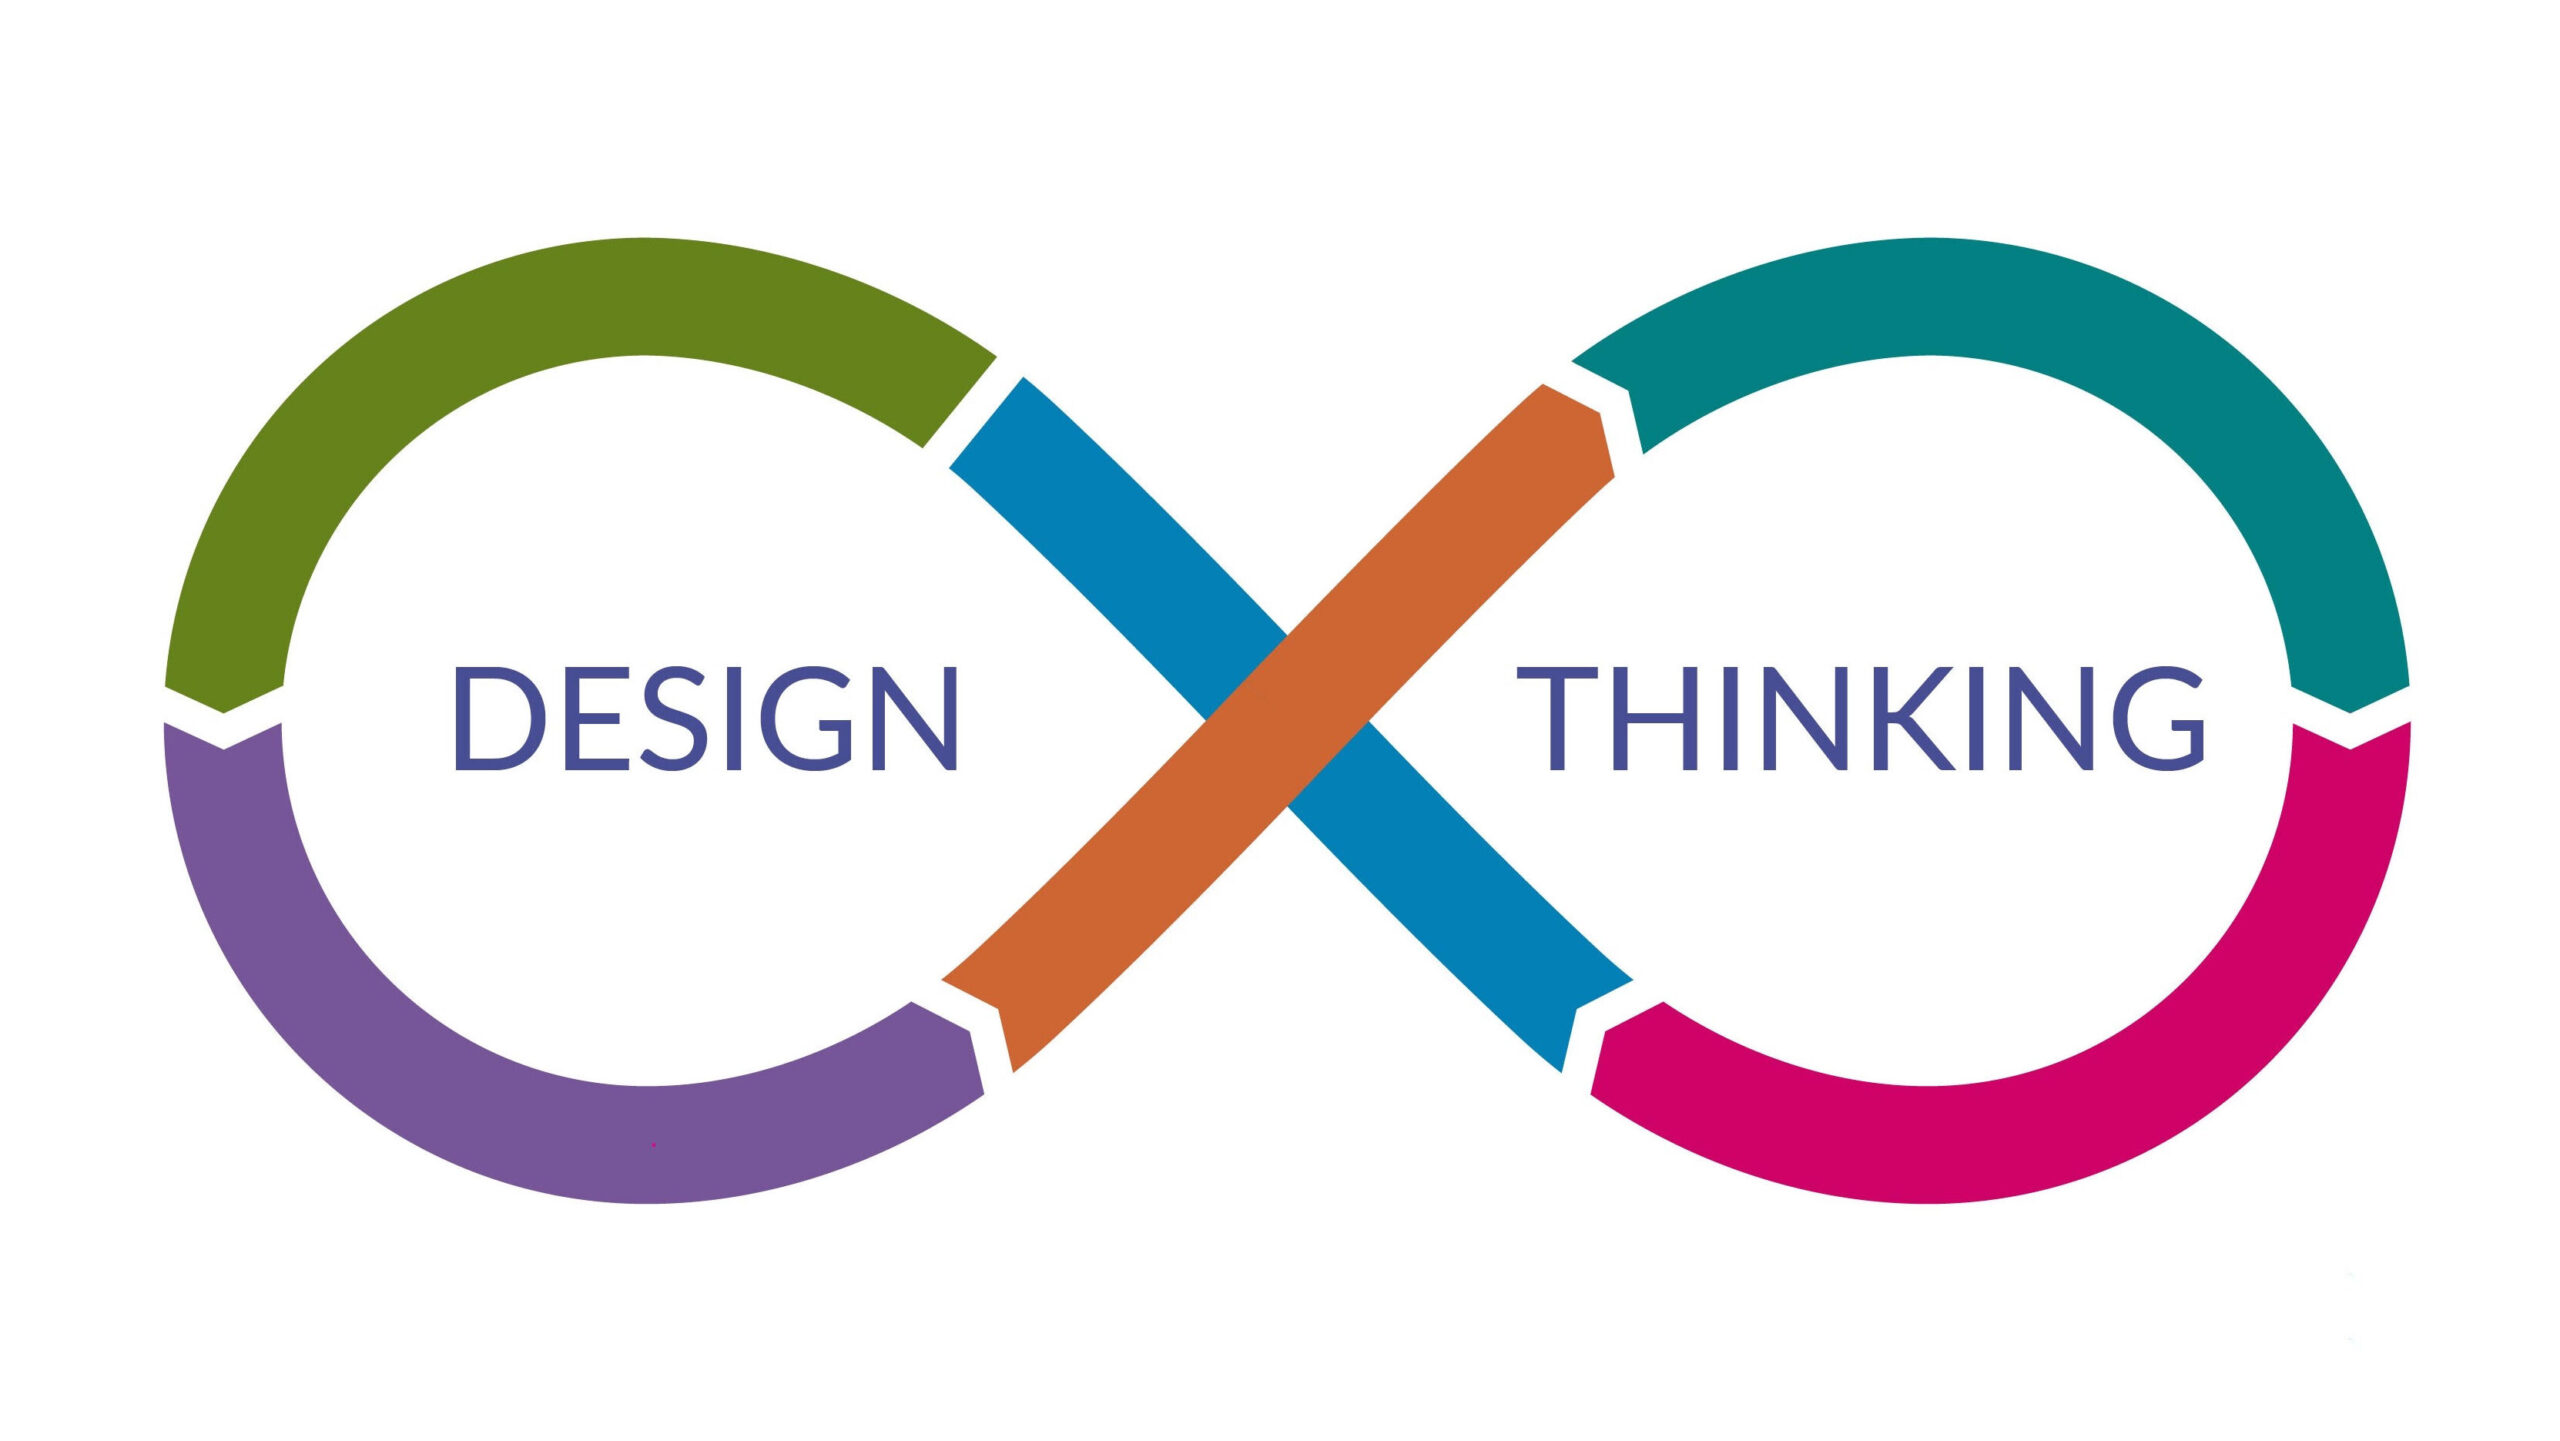
The design thinking process can be divided into five phases: empathize, define, ideate, prototype, and test. While these steps might appear to be in a logical sequence, the process is not strictly linear. Each step brings new discoveries, so you may need to loop back to a previous step and redefine what you’ve done to move forward.
Prototyping, the fourth stage in the design thinking process, is based on everything you’ve done so far: interviewing your users, defining your problem statement, and coming up with potential solutions. But what exactly is a prototype?
What is a Prototype?
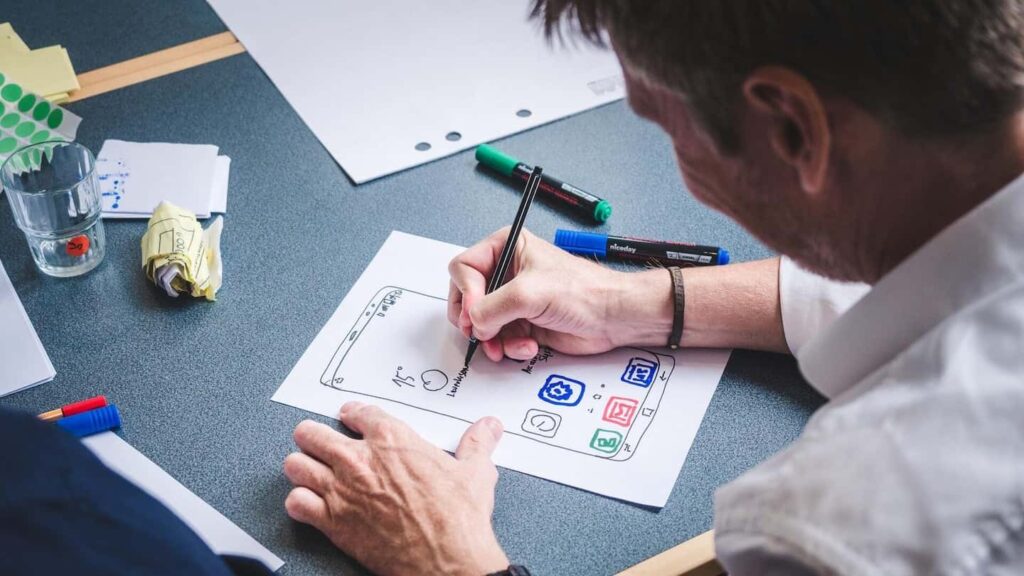
Put simply, a prototype is a scaled-down version of your product—a simulation or sample version that enables you to test your ideas and designs before investing time and money into developing the product. For instance, if you’re designing an app, you might create a digital prototype and test it on real users before handing it off to the developers.
Prototypes come in various shapes and sizes, from simple paper models to fully functional, interactive digital prototypes. In the following sections, we’ll explore the different types of prototypes. First, however, it’s important to understand the value of prototyping.
Why Use Prototypes?
Prototyping is an invaluable step in the design thinking process. By placing the user at the heart of the process, you need to test your designs on real users—prototypes make this possible without extensive time and financial investments.
Prototypes help you to:
- Gain First-hand Insights: Understand how users will interact with and react to the product you’re designing. Seeing an early version of the product in action shows if and how it will work in the real world.
- Identify Usability Issues: Discover design flaws before it’s too late. Prototypes enable you to fail early and cheaply, exposing weak or unsuitable approaches before investing significant resources.
- Make Informed Design Decisions: Test different design options, such as button placement or layout choices, and determine which works best through user feedback.
No matter how thorough your UX research is, many people find it difficult to conceptualize a product until they have it in front of them. Prototypes allow you to iterate, refine, rework, and improve until you have a market-ready product.
Different Kinds of Prototypes
Prototypes can vary in form, fidelity, interactivity, and lifecycle:
- Form: Is it a hand-drawn prototype or a digital one? Is it for mobile or desktop?
- Fidelity: How detailed and polished is the prototype? You’ll often hear the terms high-fidelity and low-fidelity in relation to prototypes.
- Interactivity: How functional is the prototype? Can the user click on it or interact with it, or is it view-only?
- Lifecycle: Is the prototype a quick, disposable version that will be replaced with a new and improved version? Or is it a more enduring creation that can be built and improved upon, potentially ending up as the final product?
Prototypes are generally categorized into low-fidelity and high-fidelity prototypes. Fidelity describes how similar the prototype is to the final product—whether it’s an accurate representation of the final product or more of a basic, early-stage model.
Low- to Mid-Fidelity Prototypes
Low-fidelity prototypes are ideal for rapidly testing broad concepts. They’re quick, cheap, and highly collaborative, not requiring advanced design skills. These prototypes keep content and visuals to a minimum, presenting only the key elements as basic shapes to convey visual hierarchy.
Some common low- and mid-fidelity prototyping techniques include paper prototyping and clickable wireframes. These methods are particularly useful for iterating on initial design ideas and getting designers and stakeholders aligned on basic design elements.
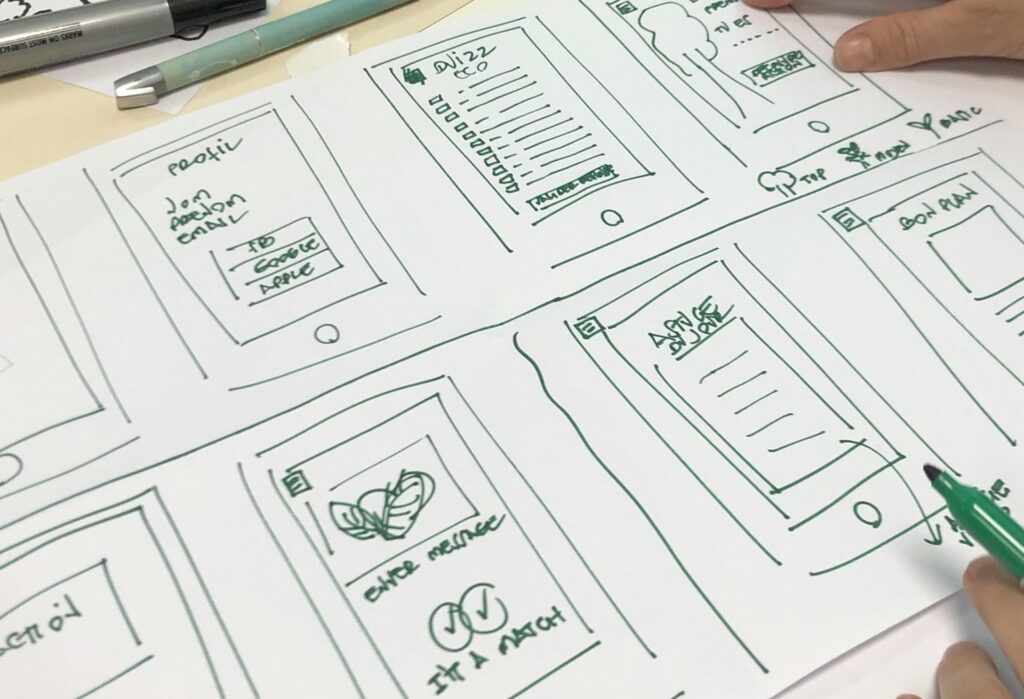
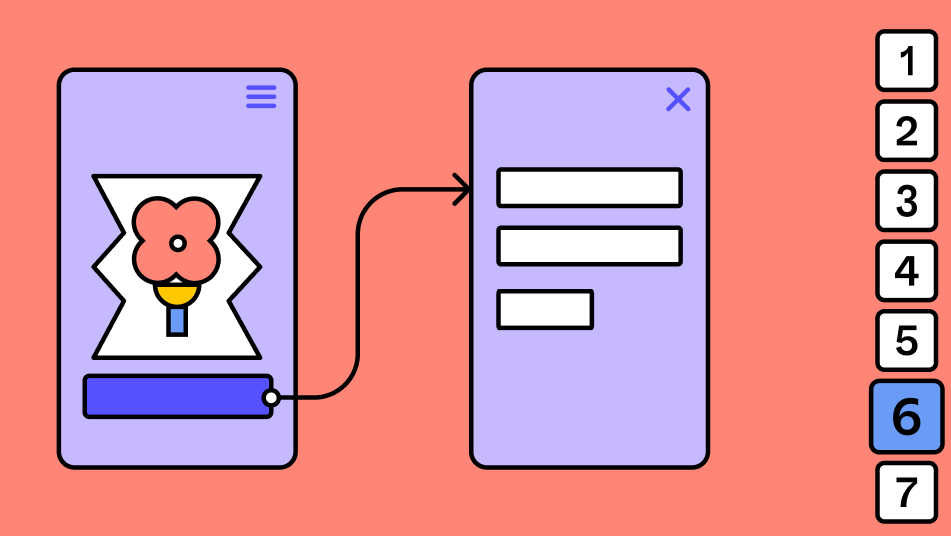
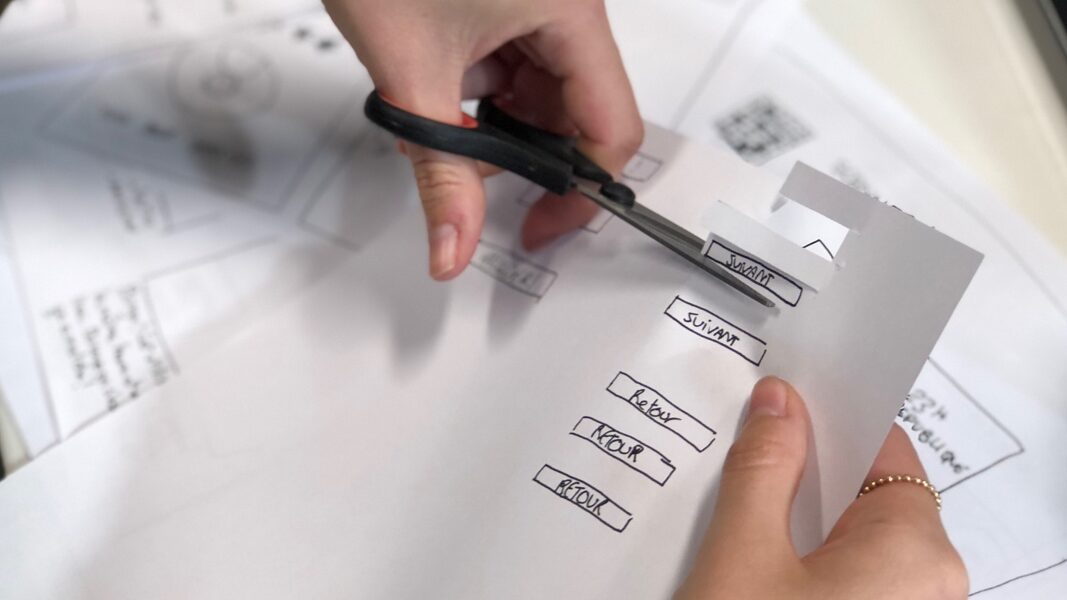
- Paper Prototyping: Create prototypes using pen and paper. Draw different screens of a digital product interface onto sheets of paper. Simulate interactivity during testing by moving the screens based on user navigation.
- Clickable Wireframes: Represent the visual layout of a digital interface with interactivity. Simulate user journeys by including hyperlinked buttons leading to other wireframes.
High-Fidelity Prototypes
High-fidelity prototypes are more detailed and realistic, looking and operating much like the final product. These prototypes include all the visual components, interactive elements, and content that will be featured in the final product. They are the most useful for user testing as they provide a realistic experience, leading to more meaningful feedback.
Creating high-fidelity prototypes is more time-consuming and expensive, but they offer a comprehensive test of every element of your product before development. Popular tools for creating digital prototypes include Sketch, InVision, and Flinto.
Prototyping Best Practices
Now that we understand the importance and types of prototypes, let’s look at some best practices for creating effective prototypes:
- Select the Appropriate Prototype: Depending on the stage of your design process and available resources, decide whether a low-fidelity or high-fidelity prototype is appropriate.
- Set Clear Objectives: Have a clear idea of what you want to achieve with your prototype. Focus on user needs and your problem statement.
- Choose the Right Tools: Familiarize yourself with prototyping tools that meet your needs in terms of features and functionality. Popular tools include Sketch, InVision, and Flinto.
- Take Action: Prototype as needed. Design Thinking is about generating ideas and testing them, so create prototypes whenever necessary.
Essential Prototyping Guidelines
Prototypes are intended to be quick and easy tests of design solutions. By following these guidelines, you can maximize the effectiveness of your prototyping stage:
Dive Right In!
– Design Thinking has a bias towards action. If you have any uncertainties about what you are trying to achieve, your best bet is to just make something. Creating a prototype will help you think about your idea concretely and potentially gain insights into ways you can improve it.
Prioritize Speed Over Perfection!
– Prototyping is all about speed. The longer you spend building your prototype, the more emotionally attached you can get to your idea, hampering your ability to judge its merits objectively. Aim to create your prototype quickly and efficiently, allowing you to move on to testing and iterating.
Focus on Your Testing Goals!
– All prototypes should have a central testing issue. Do not lose sight of that issue, but at the same time, remain open to other lessons you can learn from it. Keeping your primary testing goal in mind will ensure that your prototype remains focused and relevant.
Keep the User at the Center!
– Test the prototype against your expected user behaviors and needs. Learn from the gaps between expectations and realities, and use this feedback to improve your ideas. Building with the user in mind will help you create a product that truly meets their needs.

Moving Forward with Prototyping
Prototyping and testing go hand in hand. Once you’ve created a prototype, test it with real users. Observe how they interact with the product and gather feedback on their experience. This feedback will guide your next steps and help you iterate towards an intuitive, user-friendly product that your users will love.
In conclusion, prototyping is a dynamic and essential part of the design thinking process. By creating and testing prototypes, you ensure that your final product meets user needs and expectations, ultimately leading to a successful and user-centric design.
Related Posts:
Design Thinking, A User-Centered Approach to Problem-Solving
What is Problem-Solving in the Design World?
Design’s Hidden Ally: Power of UX Research
Unveiling the Magic: UI vs. UX Design
